B2INST User Manual#
Guidelines#
B2INST lets researchers and communities describe, register, and reference scientific instruments, such as environmental sensors, microscopes, and laboratory equipment. A record describes an instrument instance: what it is, who owns it, who manufactured it, and how it relates to other research resources. B2INST uses the PIDINST metadata profile and ePIC Handles to identify published instruments.
An instrument record can contain metadata alone or include supporting files, such as manuals or calibration reports. Communities organise records and can define additional metadata requirements and a review process for publication.
How to access the B2INST service#
Open B2INST in your browser. You can search and read public records without signing in. Creating records and managing drafts require an account with the appropriate permissions. Restricted content is available only to authorised users.
Use the separate test instance to practise the workflows in this guide. Accounts, records, and API tokens belong to the instance where they were created.
The screenshots below show public B2INST pages and signed-in workflows. Record names, counts, storage limits, and available actions reflect the illustrated instance and account and can differ from yours.
Search records and download#
Enter an instrument name, manufacturer, model, or other search term in Search records… at the top of the page, then press Enter or click the magnifying-glass button. To browse records without a search term, open the search page.
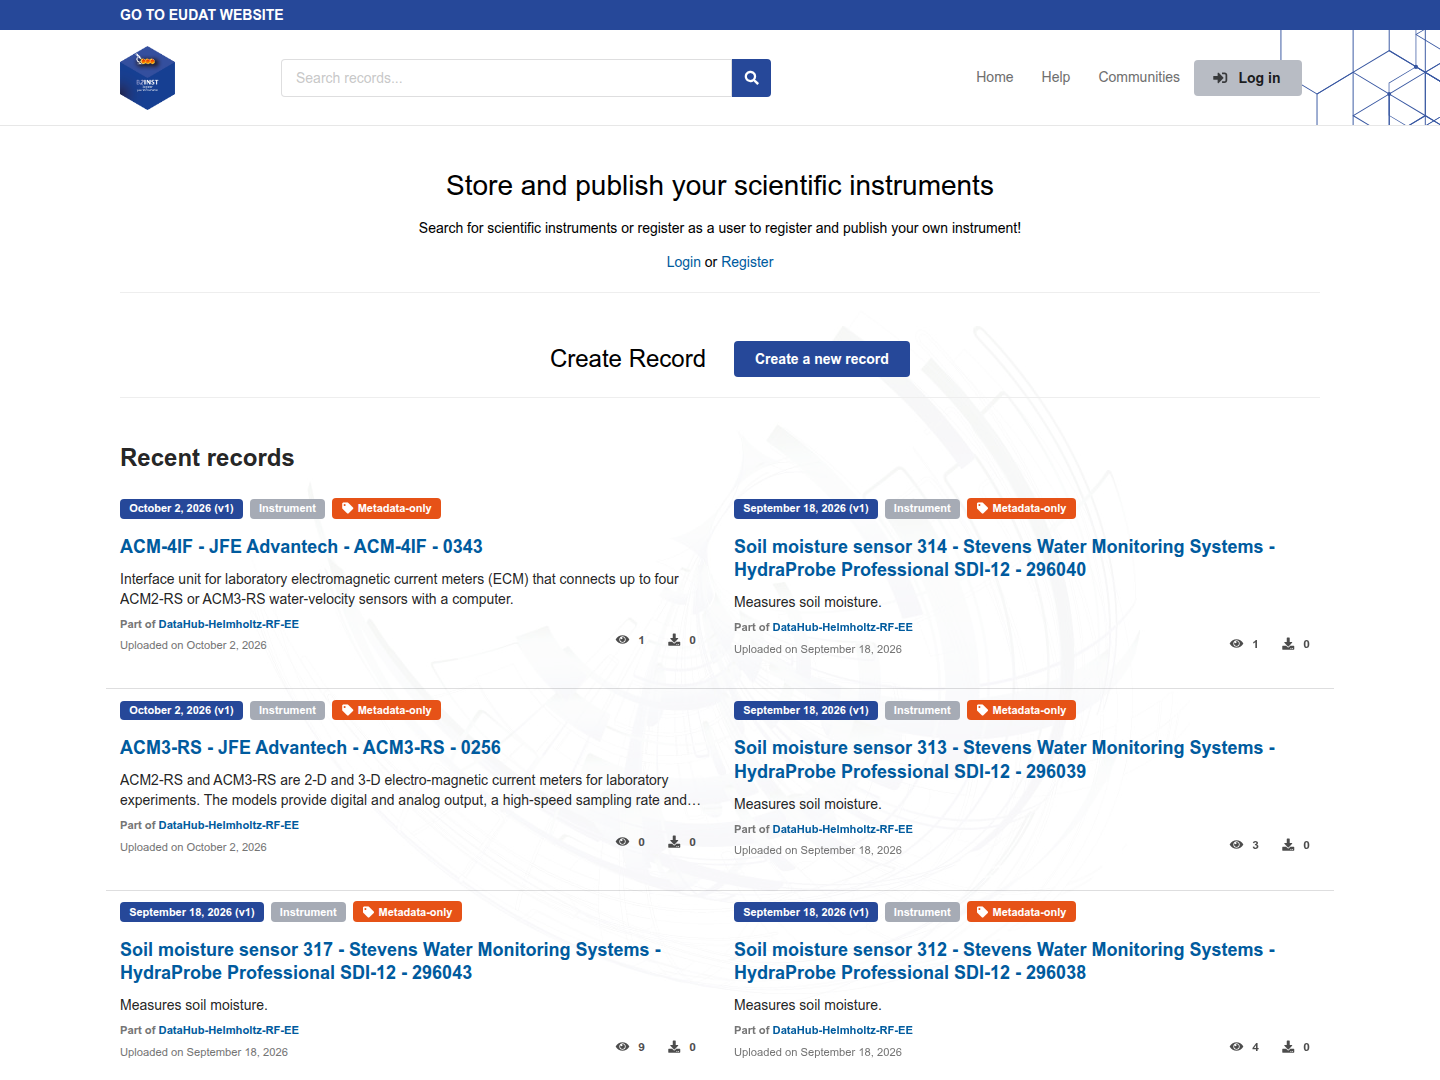
Figure 1. The B2INST home page.
On the results page, use the available filters, such as Instrument type, Manufacturer, Measured variable, Owner, and Access status, to narrow the list. You can also change the sort order. Search returns the latest published version of each matching record by default; select View all versions to include earlier published versions.
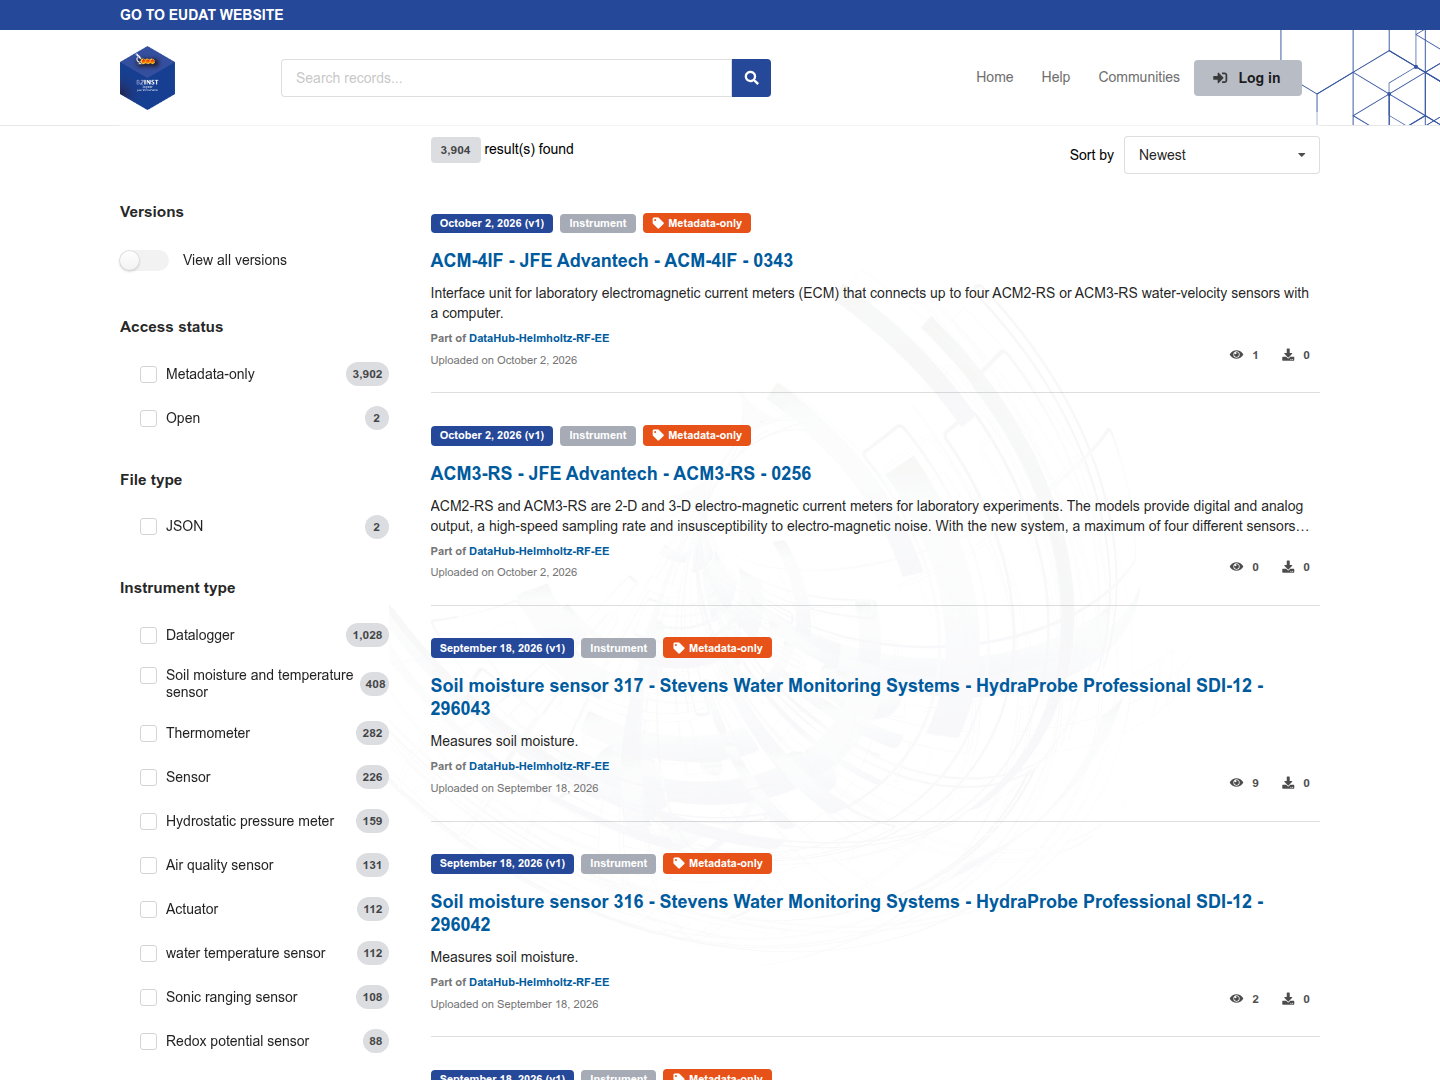
Figure 2. Search results and filters.
For more precise searches, enter a query such as metadata.Name:"soil moisture".
See Advanced search for field names, Boolean operators, and date
ranges.
Click a record’s name to open its landing page. If the record has files and you have permission to access them, use the file’s download control. Metadata-only records do not have files to download. Public metadata does not necessarily mean that attached files are public: files can be restricted or under embargo.
View records#
The landing page displays the instrument’s description and metadata, its PID, community associations, and published versions. Depending on the information supplied, it can show the manufacturer, model, owner, measured variables, dates, related resources, and community-specific fields. Follow the PID link or use its copy control when referring to the instrument.
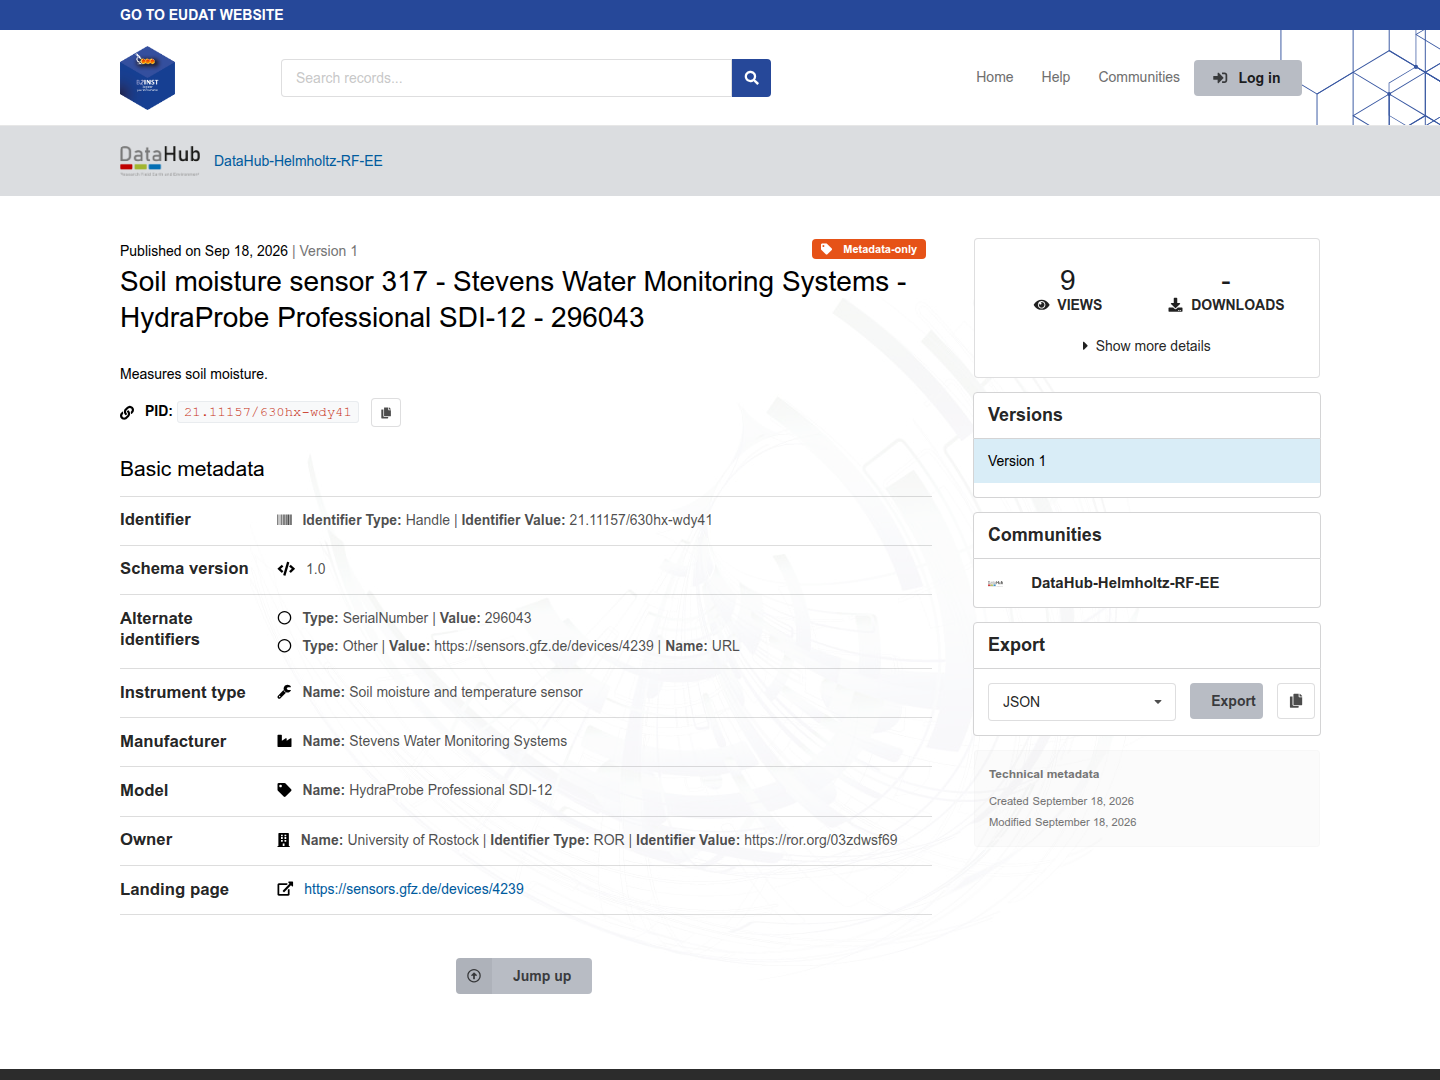
Figure 3. A published metadata-only instrument record.
The Versions panel provides access to other published versions when available. The Communities panel links to the communities associated with the record. Use Export to download metadata in one of the formats offered by the service.
For records with files, the file list provides download controls and details such as file size and checksum. The record’s Handle identifies the instrument record; do not assume that every attached file has a separate PID.
Register as a user#
You need an account to register instruments or upload supporting files. Open Log in and choose an available sign-in method. If you use B2ACCESS, follow its account registration or institutional sign-in options. If the required registration option is not available, contact B2INST support.
Account registration does not automatically make you a member of a community. Community membership and submission permissions are managed separately.
Log in#
On the B2INST login page, choose Sign in with B2ACCESS to use a linked identity. Follow the prompts from B2ACCESS and, where applicable, your institution. Alternatively, use Email Address and Password if you have a local account on that B2INST instance, then click Log in. Use the same sign-in method when returning to your existing account.
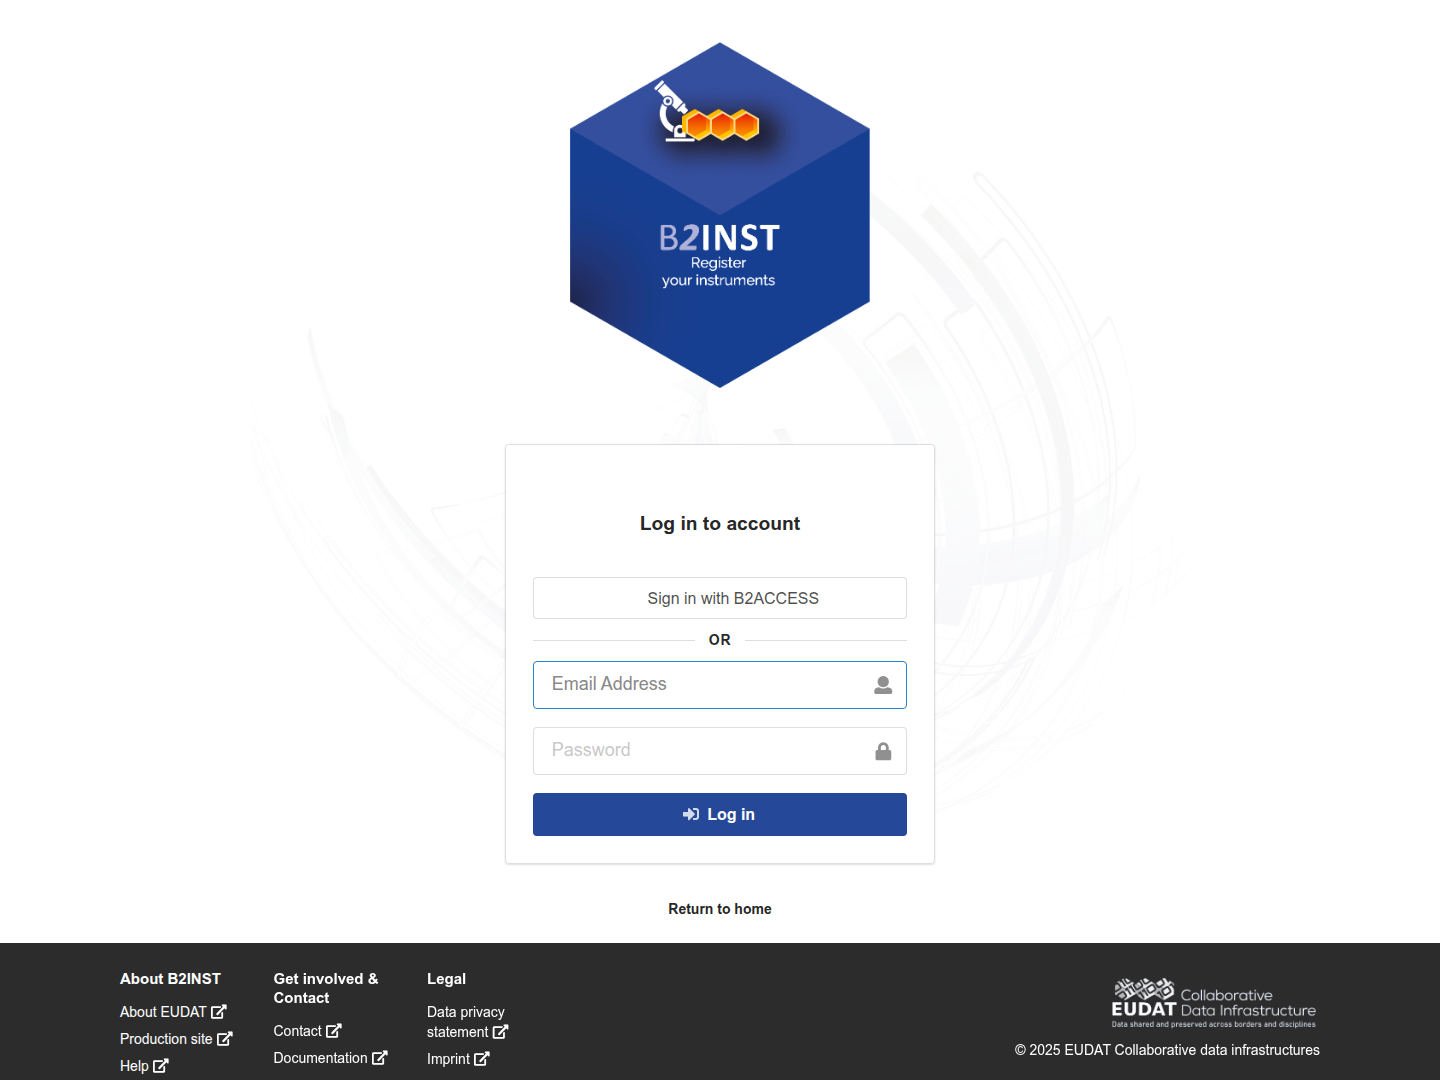
Figure 4. The B2INST login page.
Create a new record#
After signing in, click Create a new record on the home page. You can also use New record from the header’s + menu or from a community page when that action is available to you. This opens a draft that you can prepare before publication.
The workflow has five steps:
- Select a community and name the instrument.
- Choose a metadata-only record or upload files.
- Complete the instrument and community metadata.
- Set record and file visibility.
- Save, preview, and publish or submit for review.
1. Select a community and name the instrument#
Use Select a community to choose the community appropriate for the instrument. Its submission policy determines whether you can publish directly or must submit the draft for review. If a community is missing or does not accept your submission, contact its administrators. Ordinary users must select a community before publishing.
Enter a descriptive Name, for example “Soil moisture sensor 942 — HydraProbe”. Describe the individual instrument so readers can distinguish it from other devices of the same model. Use Change if you need to select a different community, and check any resulting changes to the required community fields.
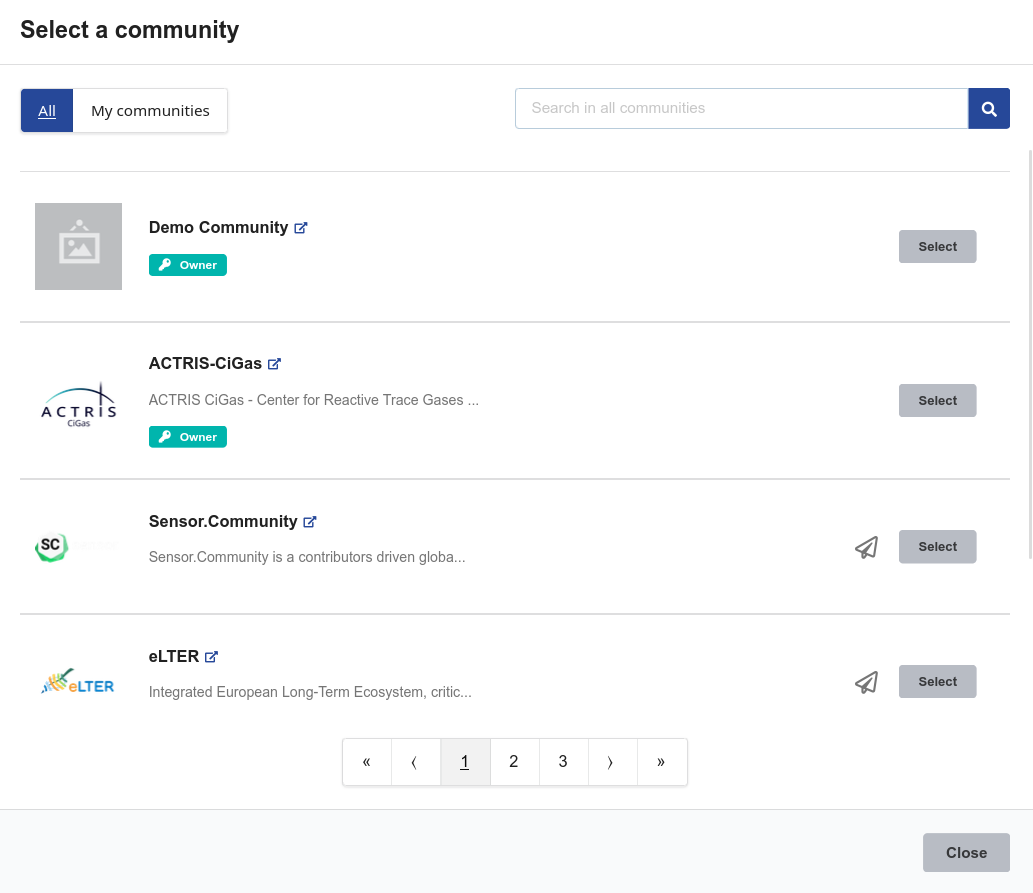
Figure 5. Choosing a community for the draft. The instrument Name field is shown with the basic metadata in Figure 7.
2. Choose metadata only or upload files#
In Files, select Metadata-only record if you are registering the instrument without attachments. This is a complete publication option; a file is not required for a metadata-only record.
To include supporting files, leave the metadata-only option unselected and drag files into the upload area, or use the file-selection control. Wait until every upload has completed. Check the filenames and remove an incorrect file from the draft before publication. When files are enabled, at least one completed file is required to publish.
Use the limits displayed by the uploader for the current instance. For larger uploads or bulk instrument registration, contact B2INST support before preparing the submission.
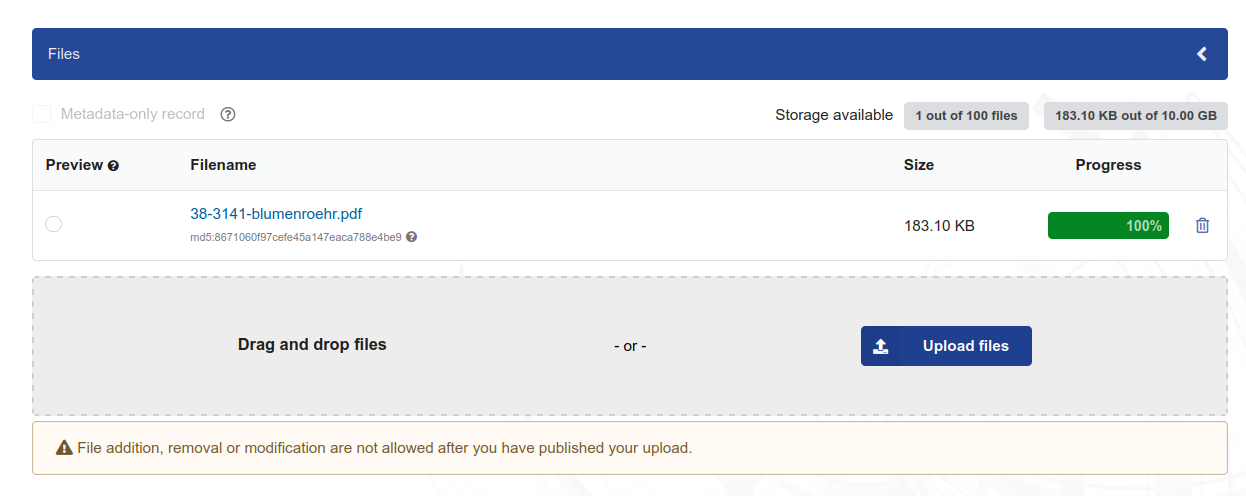
Figure 6. A completed file upload. The Metadata-only record option is disabled while the draft contains files; remove them before switching to metadata only.
3. Complete the metadata#
Fill in Basic information and the other instrument fields. Provide names for at least one manufacturer and one owner, and a valid Landing Page URL. The owner field describes the institution responsible for the instrument; it is distinct from the B2INST account that owns the record.
The landing-page URL can point to an existing instrument page or catalogue entry.
Include the full URL, beginning with https:// or http://. B2INST fills in the
primary Identifier and Schema version automatically; these fields are not
for entering a serial number or an inventory number.
PIDINST Schema#
The main instrument fields are summarised below. Additional details within a field, such as identifier types or date types, must also be valid when supplied.
| Field | What to provide |
|---|---|
| Name | Required. A name identifying the instrument instance. |
| Landing Page | Required for publication. A valid instrument landing-page URL. |
| Manufacturer | Required for publication. At least one manufacturer or developer with a name. |
| Owner | Required for publication. At least one responsible institution with a name; an institutional identifier can also be added. |
| Identifier | Assigned by B2INST. The instrument’s primary Handle. |
| Schema version | Set by the service to 1.0. |
| Description | Recommended. A description of the instrument and its capabilities. |
| Model | Recommended. The manufacturer’s model name and, if available, its identifier. |
| Instrument type | A classification, such as a soil moisture sensor or a microscope. |
| Measured variable | The quantities the instrument measures or observes. |
| Date | Relevant instrument dates with their date types, such as commissioning or decommissioning. |
| Related identifier | A related resource’s identifier and its relationship to this instrument, for example a publication describing it. |
| Alternate identifier | A serial number, inventory number, or another identifier for the same instrument. |
A Model is optional for publication. You can list several manufacturers and owners; the model field describes a single model. For API field names and structured examples, see the record object.
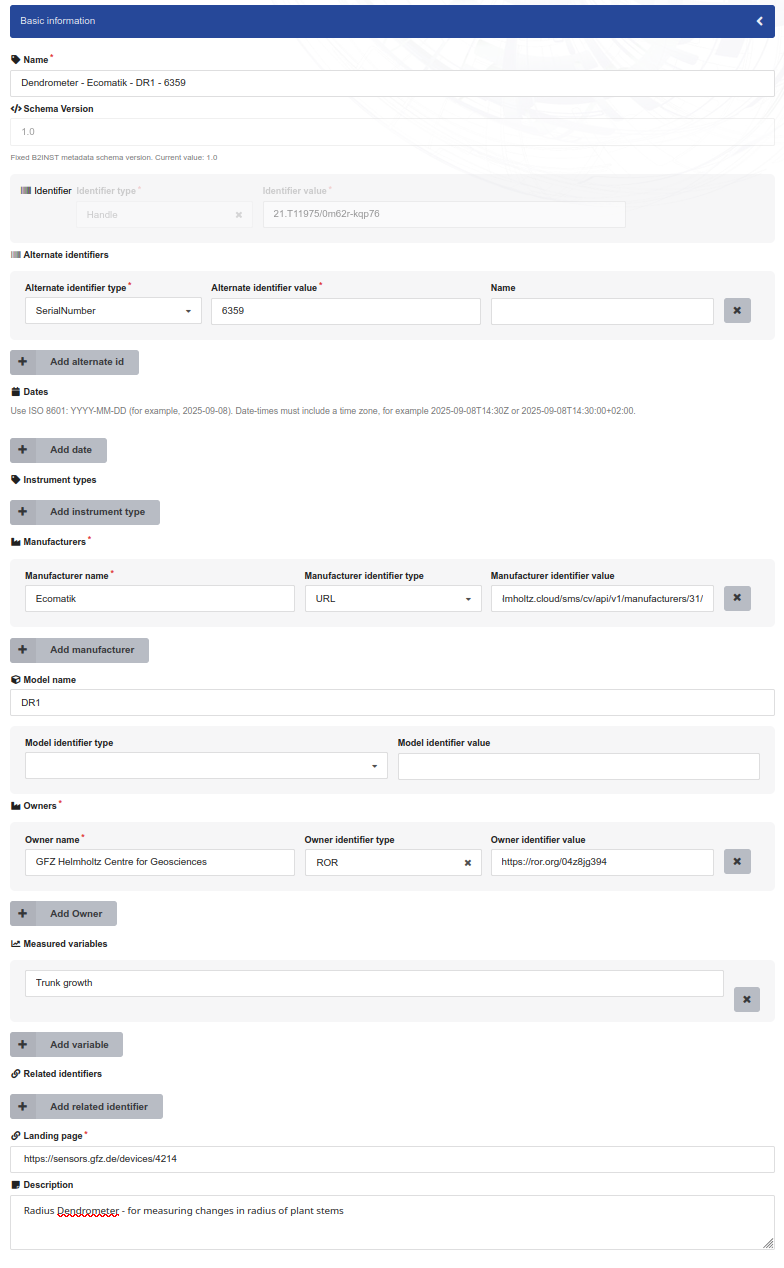
Figure 7. Basic instrument metadata for a dendrometer, including its serial number, manufacturer, model, owner, and landing page.
Fill in the community-specific metadata fields#
The selected community can add fields to the standard instrument metadata. Complete those marked as required and follow the community’s field descriptions. Check these fields again if you change the selected community. Contact the community administrators if you are unsure which values to enter.
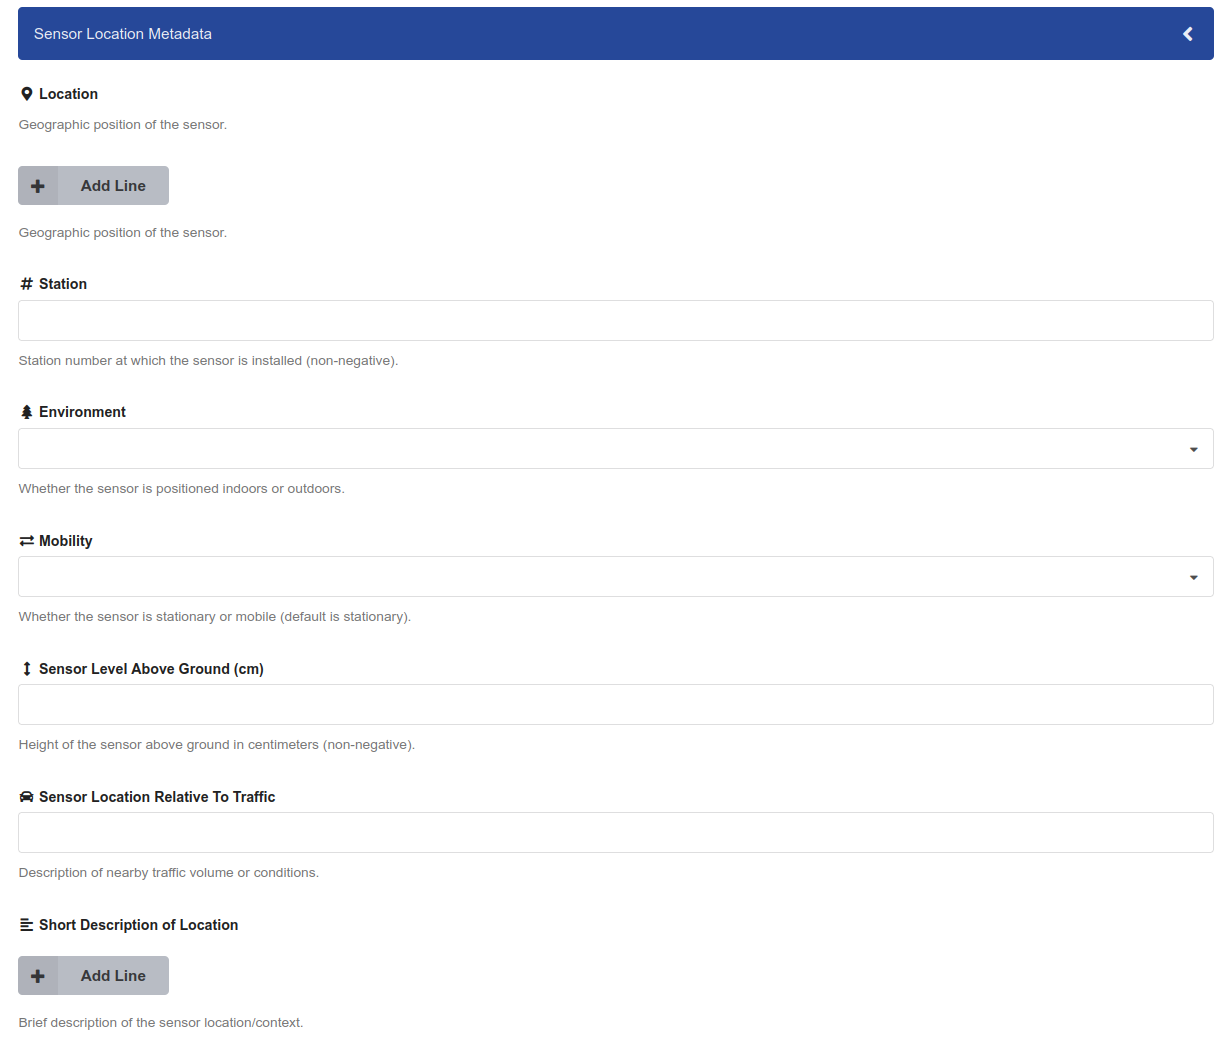
Figure 8. An example community extension for sensor location metadata. The fields and required-field indicators depend on the community’s schema.
4. Set record and file visibility#
Use Visibility to choose who can read the record and any files:
- Full record controls access to the metadata. Public makes a published record readable by everyone; Restricted limits it to authorised users.
- Files only controls access to attachments. A public record can have restricted files. An embargo, where offered, postpones public access until the chosen date.
Community policies and any access granted to other users also affect who can read a restricted record or its files. Saving a draft with public visibility does not publish it; publication is a separate action.
5. Save, preview, and publish#
Use Save draft to keep your work and return later through My dashboard > Records. A saved draft can still contain validation errors that must be corrected before publication. Use Preview to inspect how the record will appear.
The publication action depends on the community and your permissions:
| Action | Result |
|---|---|
| Publish / Publish to community | Publishes the draft when direct publication is permitted and validation succeeds. |
| Submit for review | Sends the draft to the community’s reviewers. Submission alone does not publish the record. |
Review the confirmation dialog before completing the action. If validation reports missing or invalid fields, correct them and try again. Check that uploads are complete and that the required community metadata has been supplied.
For reviewed submissions, follow the request and its comments through My dashboard > Requests. A pending request remains under review until an authorised reviewer takes a decision. Acceptance publishes the submission. If a request is declined or cancelled, follow any reviewer feedback before making a new submission.
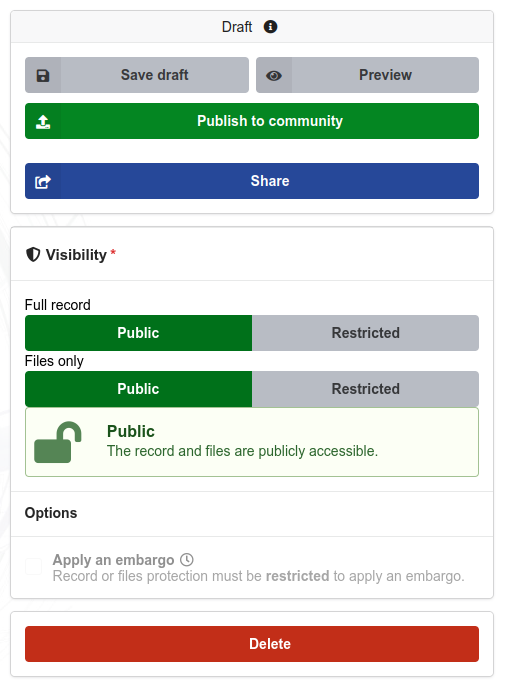
Figure 9. Draft controls when direct publication is available. Record and file visibility are both set to Public in this example.
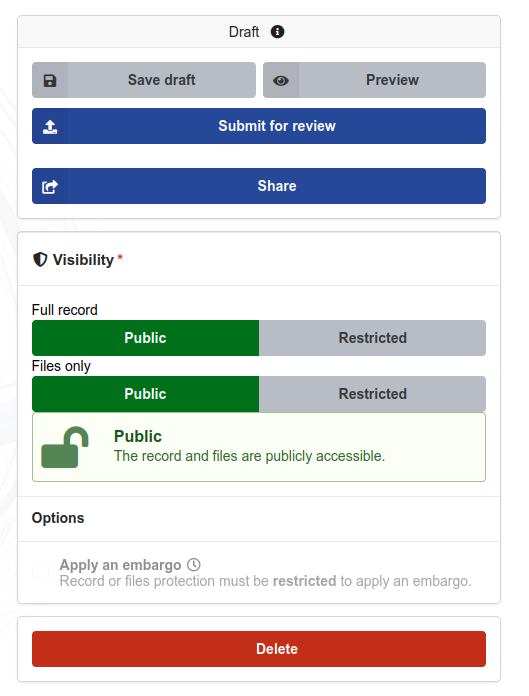
Figure 10. Draft controls for submission to community review.
Edit a published record’s metadata#
Use Edit on a published record when you need to correct or extend its metadata in the same version. This action requires permission to edit the record.
- Open the published record and select Edit.
- Update the metadata in the edit draft and use Save draft or Preview as needed.
- Publish the completed edit using the available publication action.
This keeps the existing record ID and Handle. The published page continues to show the previously published metadata until the edit is published. Existing file content is locked in a metadata edit; use a new version when the files need to change.
Publishing an edit requires publication permission in addition to edit permission. If you can edit the record but cannot publish the correction, contact the associated community’s administrators. The metadata-edit workflow does not automatically submit the correction for another community review.
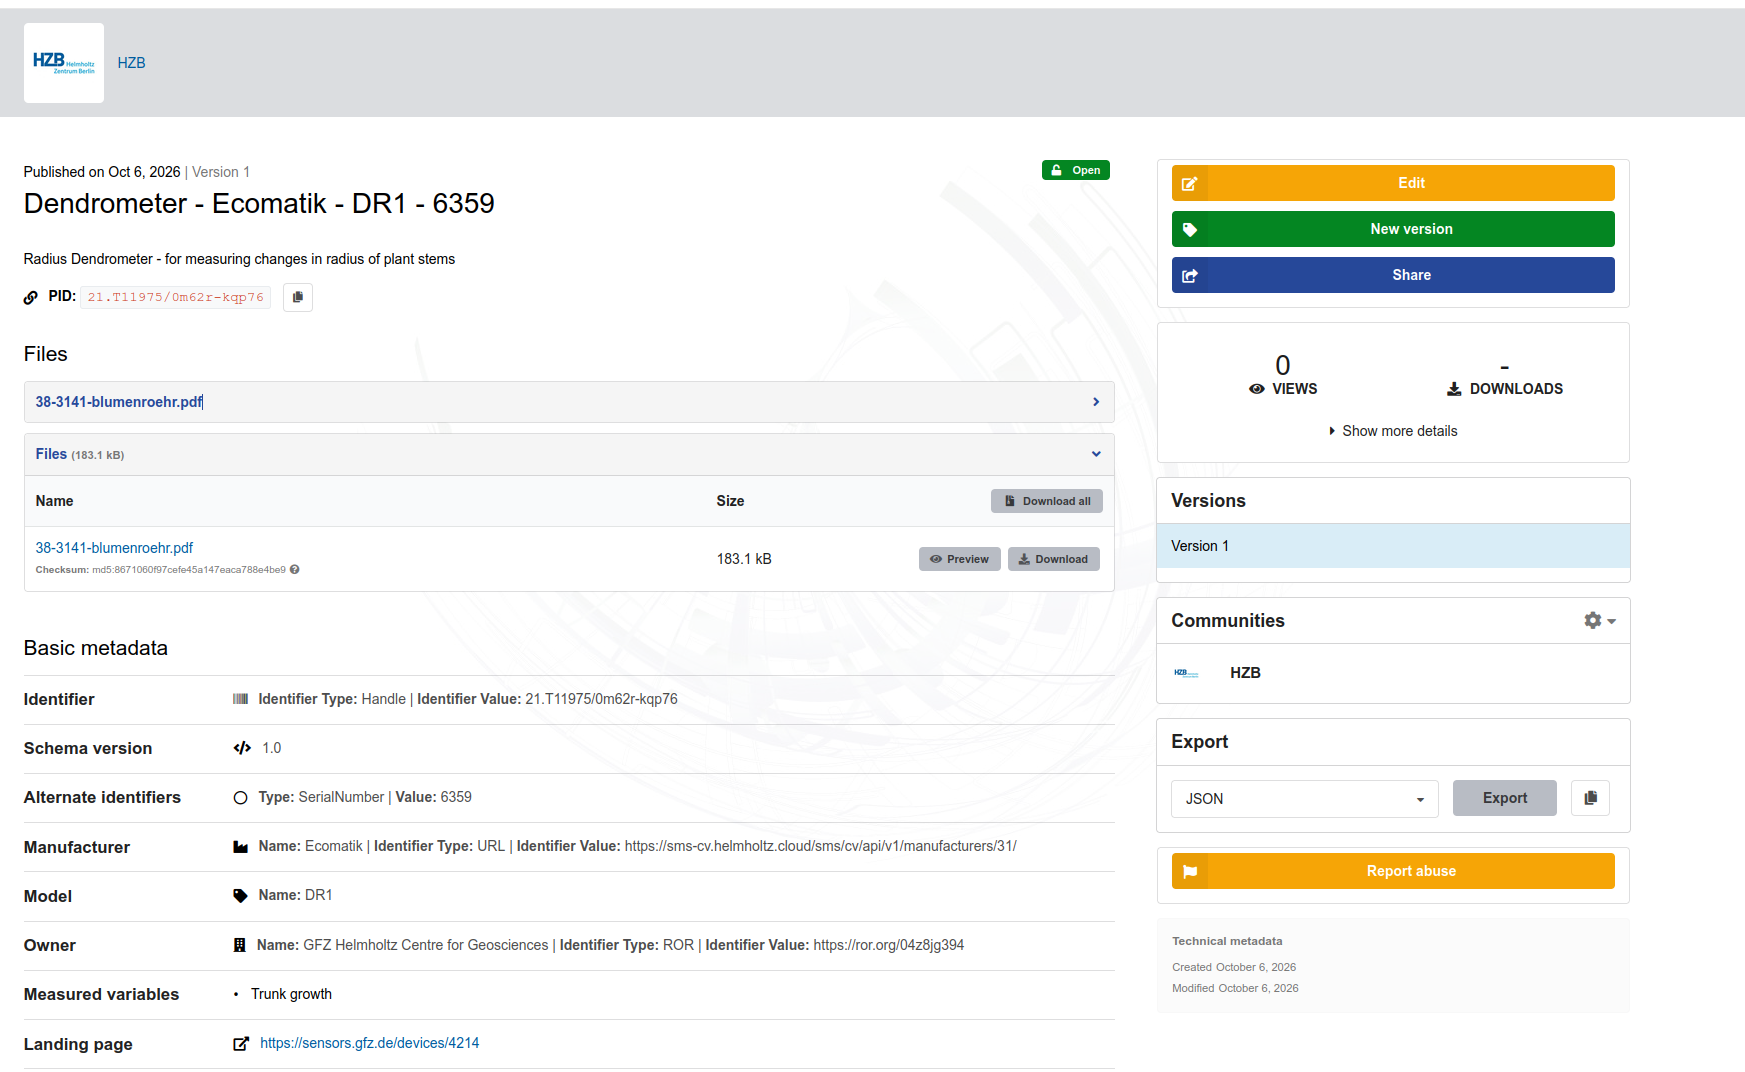
Figure 11. A published instrument record with management actions available to the signed-in user. Edit and New version start different workflows.
The API supports the same distinction. See editing a published record without creating a new version.
Record versioning#
Choose New version when you need a separate published version, for example to replace supporting files while retaining access to the previous publication. This creates a draft with copied metadata and a new record ID. A new published version has its own Handle; it is different from editing metadata under the existing Handle.
Review the copied metadata. Files are not copied automatically: use Import files while the new draft’s file list is still empty to reuse the previous attachments, then remove or replace files as needed. Alternatively, upload new files or select Metadata-only record if the new version needs no attachments. Complete the usual validation and publication steps. Readers can navigate the published versions from the record’s Versions panel.
Profile and your records#
Open My dashboard to find your records and requests. The Records tab lists accessible drafts and published records, with filters for finding the item you want to continue or manage. The Requests tab lets you follow community reviews and other requests that involve you.
Use the account menu’s Profile entry to maintain your account details. These are separate from the Owner metadata stored in each instrument record.
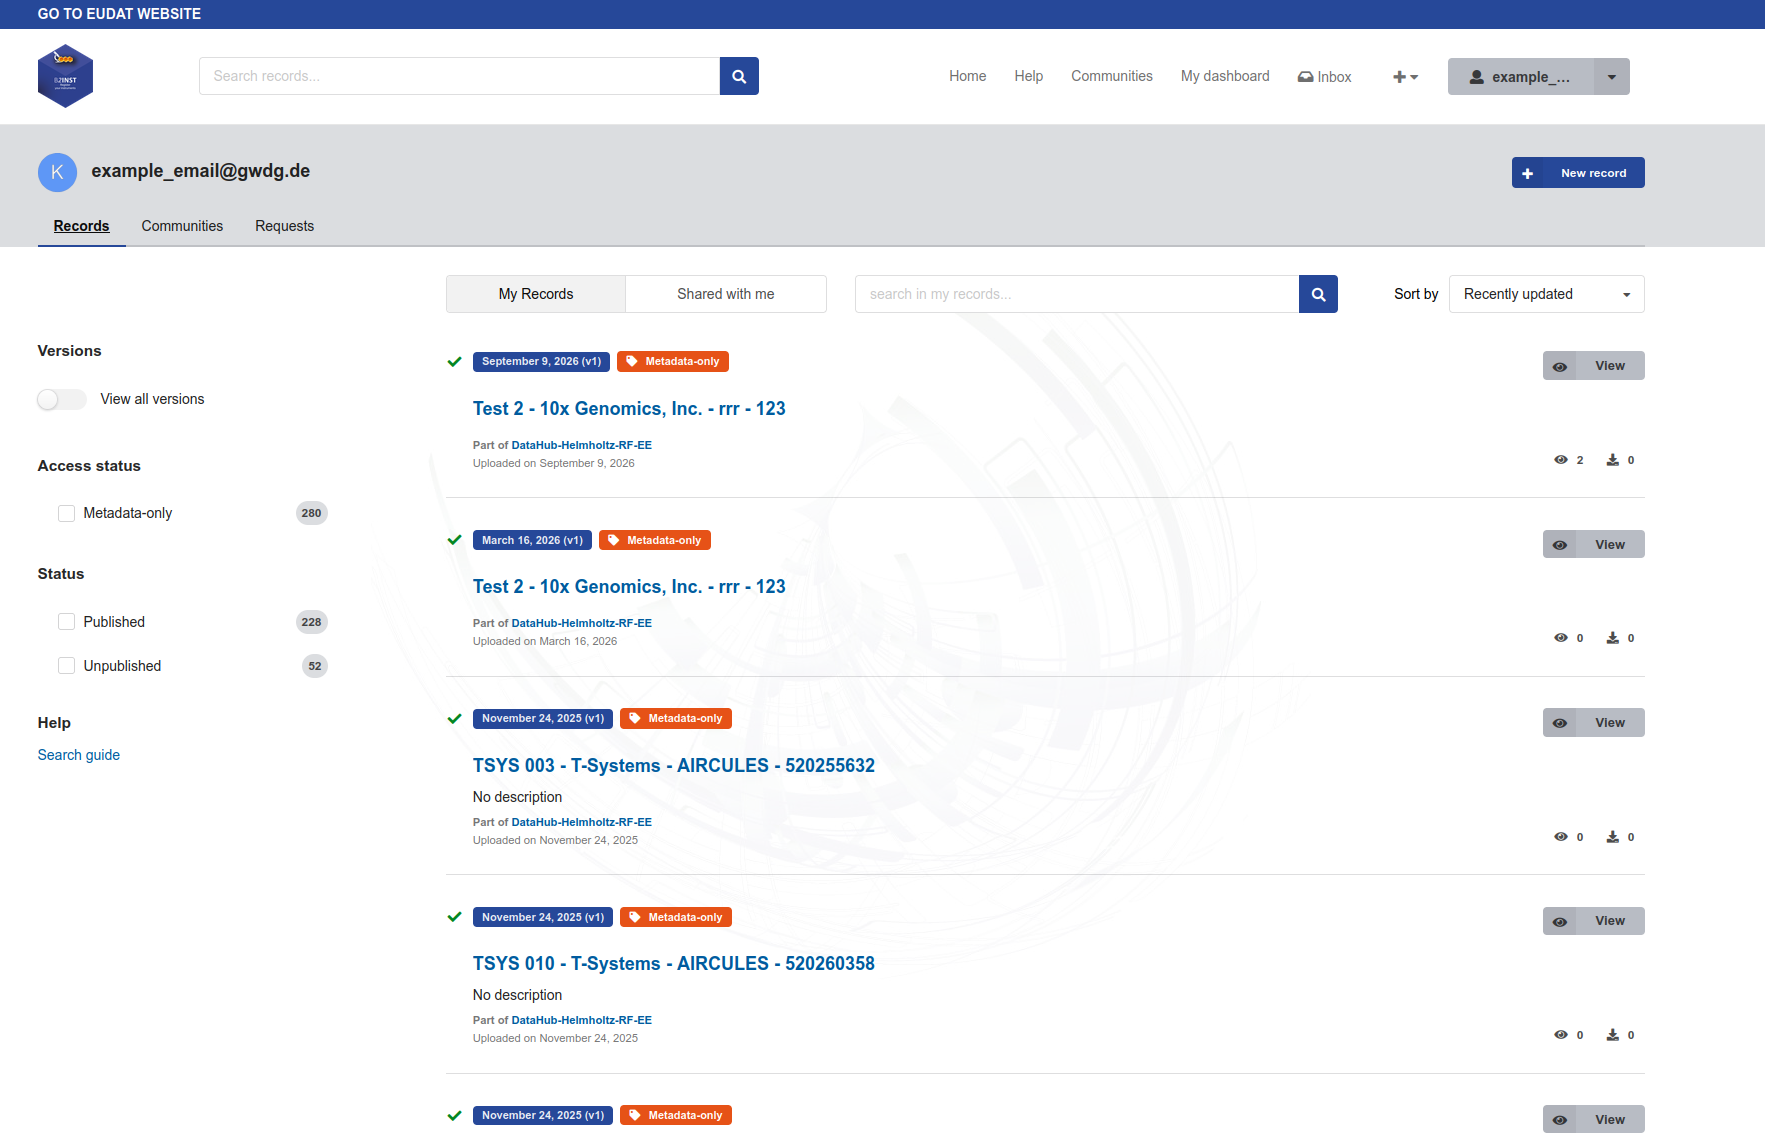
Figure 12. My dashboard and its Records, Communities, and Requests tabs. The account-menu button is at the top right; its dropdown is closed in this view.
Personal access tokens#
For scripts and integrations, open Applications from your account settings and find Personal access tokens. Click New token, give it a descriptive name, select the permissions for your task if that option is shown, and create it. Copy the value when it is displayed; it is only shown at creation. Remove tokens you no longer use.
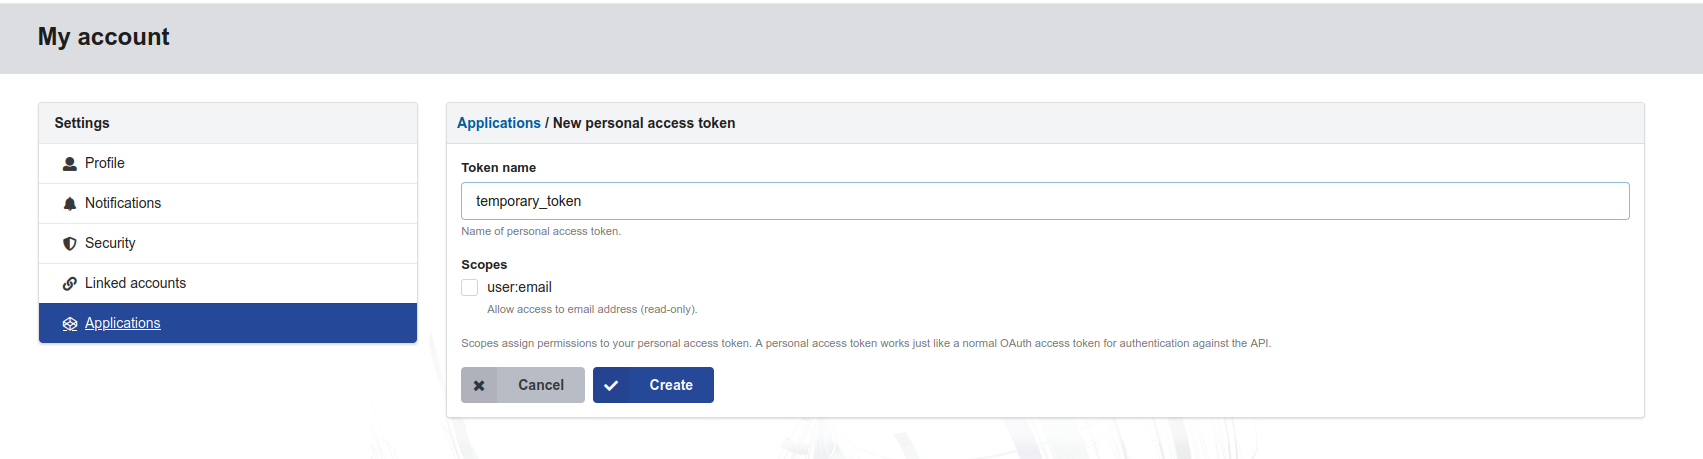
Figure 13. Creating a personal access token from Applications. This is the creation form; no generated token value is shown.
Communities#
Select Communities in the header to browse the community directory. Open a community to see its records and the information available to you. Read its scope and curation policy before submitting an instrument record.
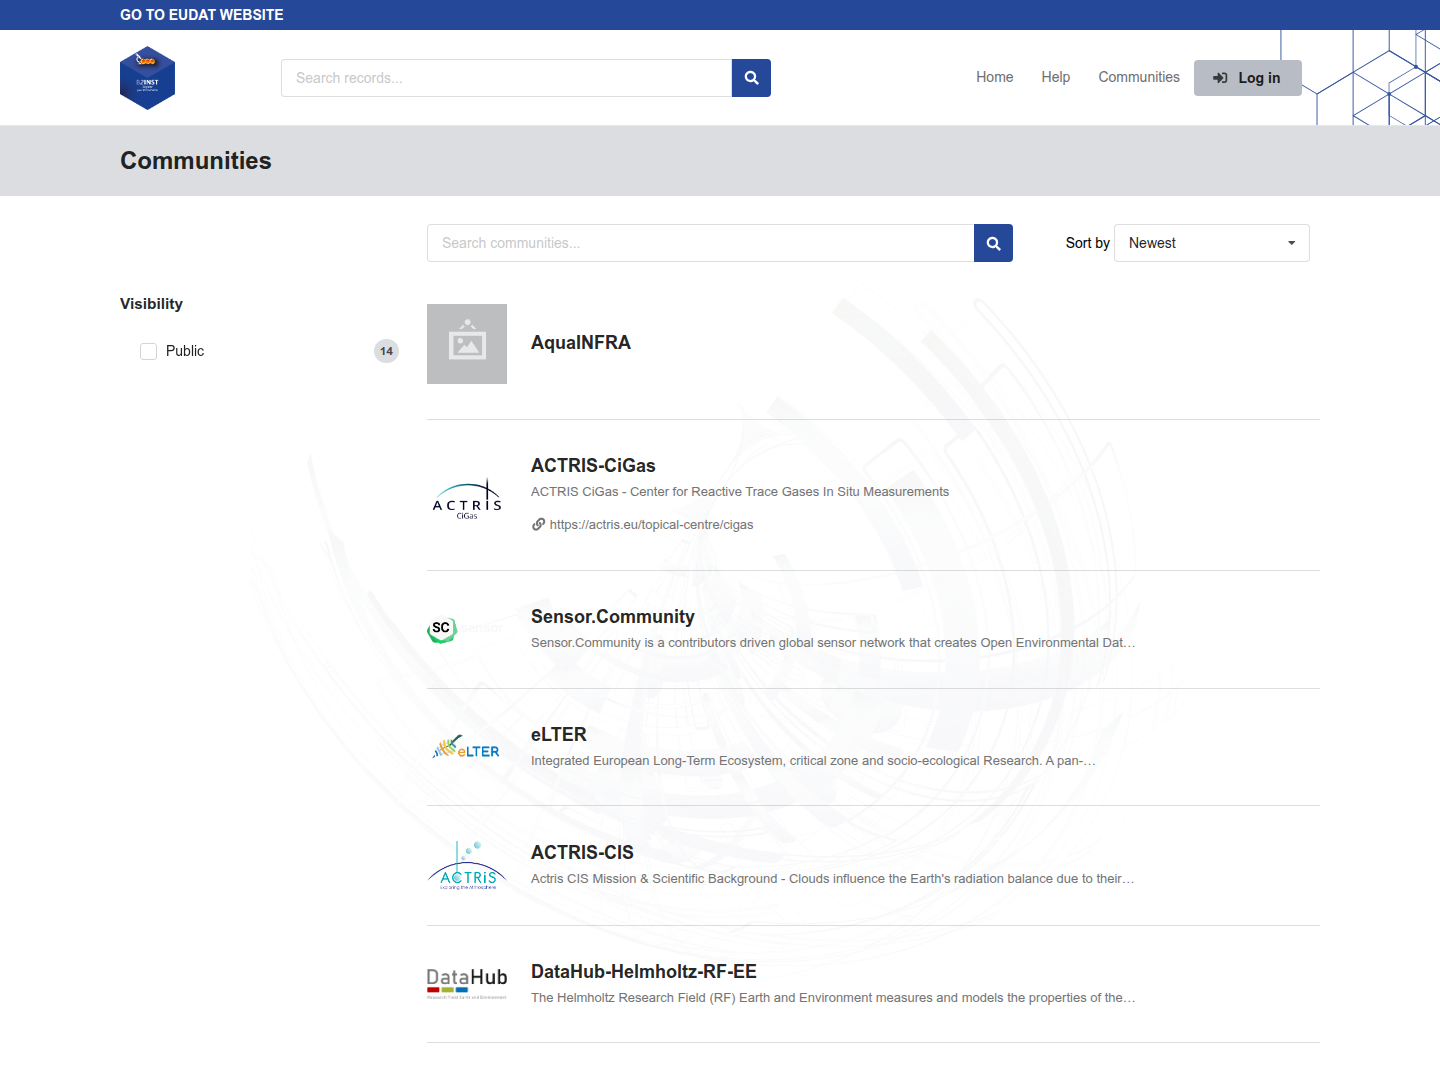
Figure 14. Browsing B2INST communities.
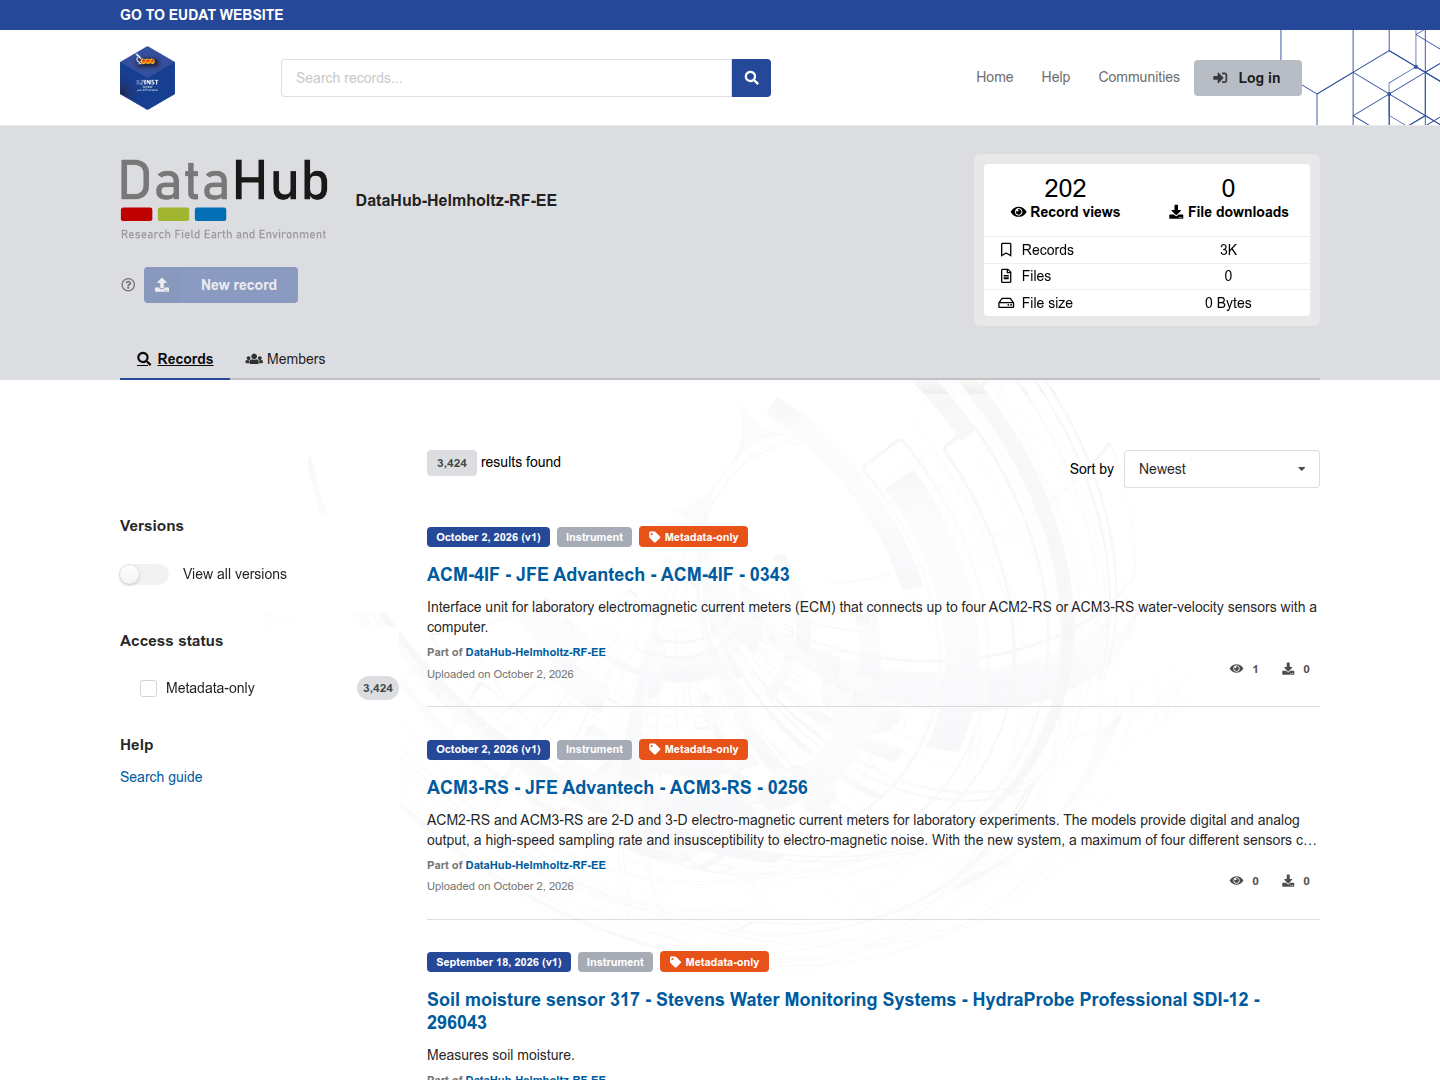
Figure 15. Instrument records associated with a community.
A community’s submission policy determines who may submit records and whether review is required. Membership can grant additional permissions, depending on the assigned role and community policies. Follow an invitation’s instructions to accept membership; contact the community administrators if you need access.
Service administrators create new communities. If your project needs a community or additional metadata fields, contact B2INST support. Community Owners, Admins, Managers, and Curators have different responsibilities; see the community guides for each role’s workflow and Creating and managing a B2INST community for the illustrated management steps.
HTTP REST API#
The API supports searching and reading records, creating drafts, uploading files, submitting records for community review, publishing, and updating metadata or creating new versions. Public reads do not require a token. Draft access and write operations require authentication and the necessary permissions.
Start with the API overview and the
API Submission Guide. The examples there use
b2inst-test.gwdg.de; use the correct instance and a token issued by that instance
when integrating your own application.
Logging out#
Open the account menu and select Log out when you have finished.
Training instance#
Use b2inst-test.gwdg.de to practise registration,
metadata entry, optional file uploads, and publication through the website or API.
Sign in or register on that instance as required. Its records and tokens are separate
from those on b2inst.gwdg.de. Access follows the selected visibility and community
policies; public test records can be viewed by anyone.
Support#
For account problems, publication errors, upload limits, or questions about the service, use the EUDAT support form for B2INST. Include the instance URL, the affected record or request URL, and the error message so the support team can locate the problem. Community-specific metadata and review questions can also be directed to the community administrators.
Last update: 06.10.2026
Last review: 06.10.2026